Pompoms are a great addition to your fibre art repertoire. They are fast and fun to make, easy enough for just about any age or ability, and super versatile! If you know how to make a pompom, you can use it in many ways. They can be used to adorn hats, decorate wreaths or headbands, finish off the wrapping on a present, or turned into garlands or a myriad of other cute and fun items!
So how do you make them? Here are three ways.

How to Make a Pompom with a Pompom Maker
This is my favourite way to make pompoms. The tool really does make a big difference to the speed and neatness of the finished pompom!
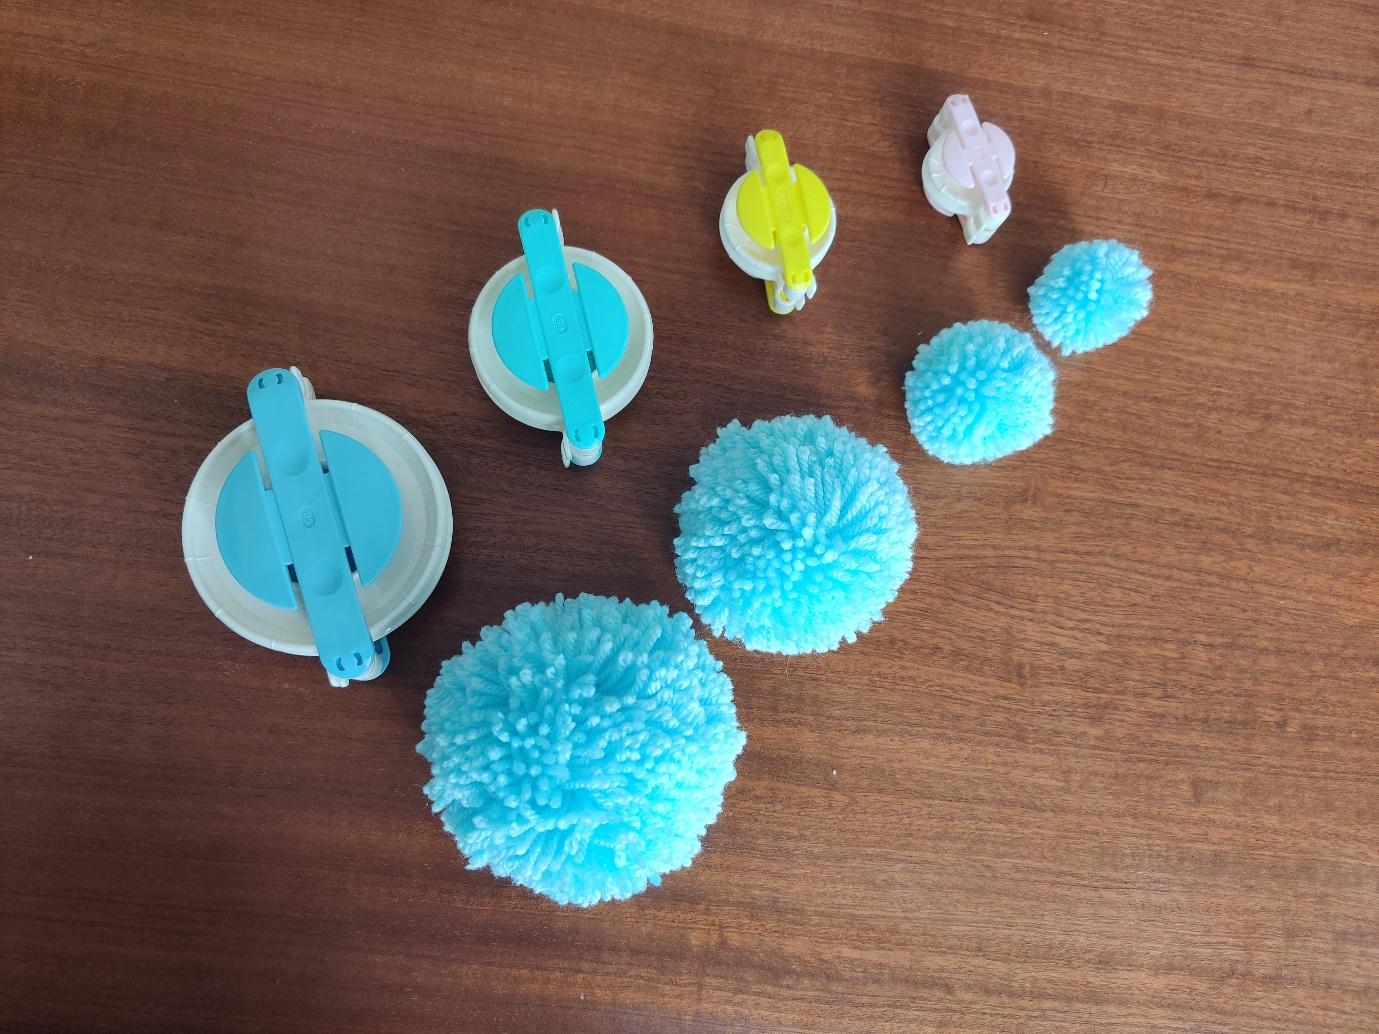
We use pompom makers from Clover. They come in 4 sizes. Each one makes a different sized pompom, ranging from 35 mm to 85 mm.
These are wonderfully easy to use, and I have a full tutorial video here:
But sometimes you don’t have a pompom maker handy, or you just want to whip one up and don’t want to wait to order a tool, or perhaps you would rather spend money on yarn instead of a tool!
If so, read on.
How To Make a Pompom With a Cardboard Circle

Using some strong cardboard, cut out two identical circles, similar to the C shape shown. The distance between the inner and outer diameter should be roughly half of the desired size of your finished pompom. The size of the interior hole influences how fluffy your pompom will be. A bigger hole means a denser pompom. This means that you will likely need to make your outer circle a bit bigger than your desired finished size.

Once you have your circles, lay them together and wind your yarn around both of them, getting it nice and full and evenly distributed.
Insert your scissors between the two pieces of cardboard and carefully cut around the edge. Be careful here as pieces of yarn can escape if you lose your grip, so hold the yarn tightly as you go!
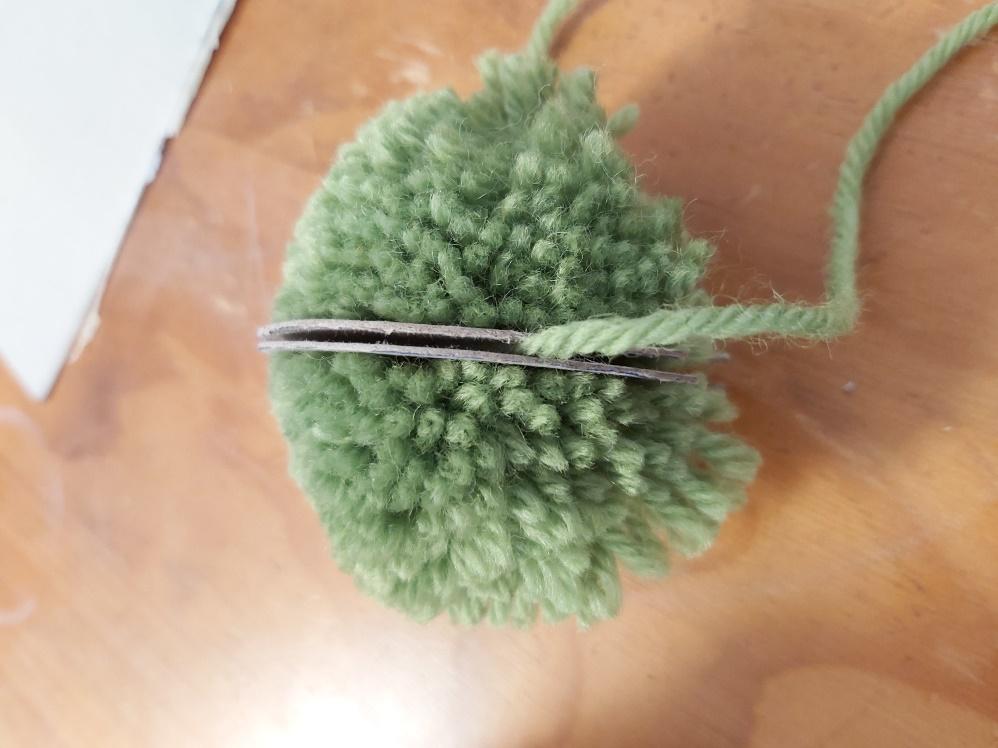
Carefully slide a length of yarn between the two pieces of cardboard and tie it snugly and securely around the middle of your pompom. Tug the pompom out from your cardboard rings and trim as needed to get a nice shape. You may want to leave one strand of yarn long as an attachment point if you’re using the pompom for things like handbag charms, keychains, or anything else where you will want to use yarn to connect it.
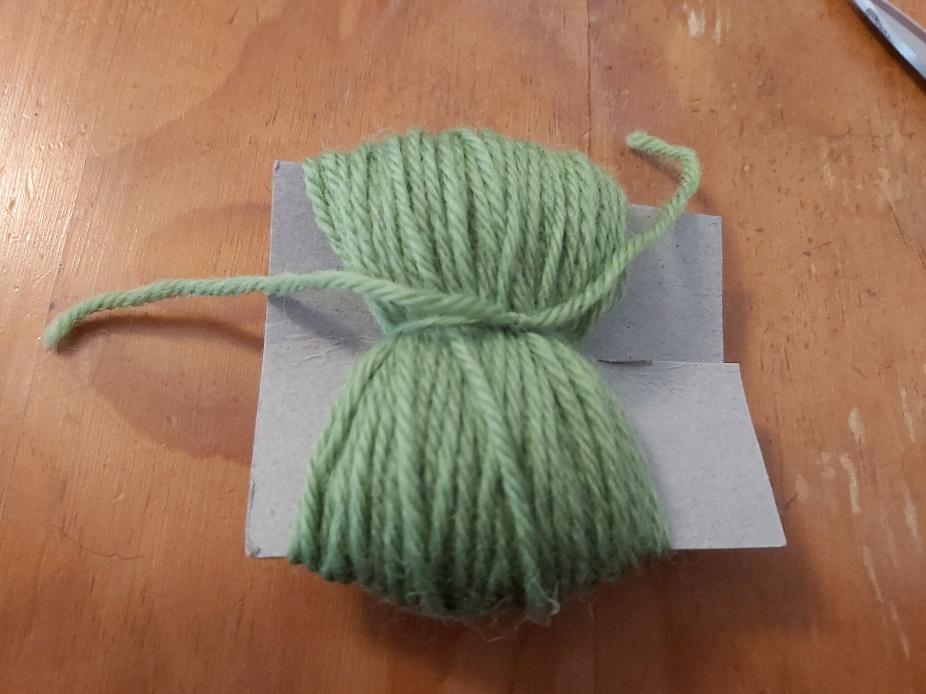
How To Make a Pompom With a Cardboard Rectangle
For this you will need very strong cardboard. I used a cereal box but that is too flimsy; I would recommend corrugated cardboard.

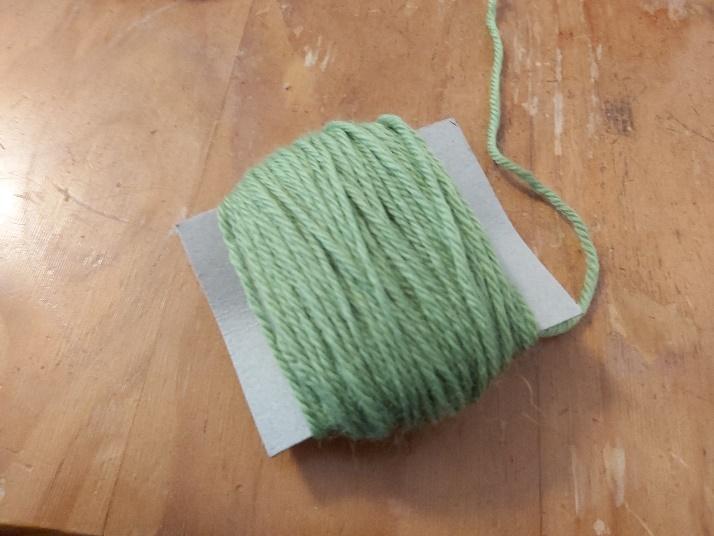
Cut a single rectangle that is a bit wider than your desired size. You’ll need lots of extra yarn to accommodate trimming it down to the right shape.
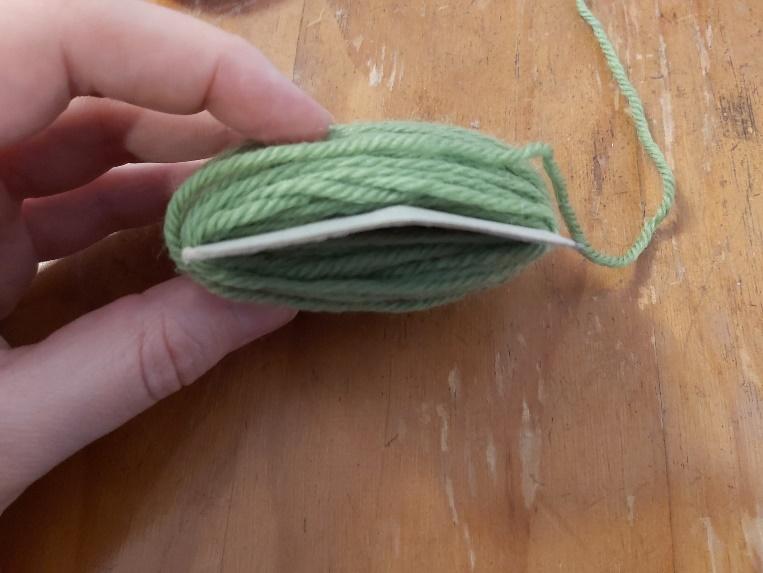
I recommend cutting a partial slit from one end of the cardboard to the midpoint. Then cut a 10cm length of yarn and slide into the slot you’ve created. Ttuck that length of yarn to one side.
Wind your yarn around the rectangle. Don’t wind too tight or you will start to collapse the cardboard. Once you have finished winding, tie the piece of yarn you slid through the slot at the beginning around the middle of your yarn. then slide the bundle off the cardboard. If you didn’t add the slot and yarn, you can slide the bundle off and tie it after you have removed it.
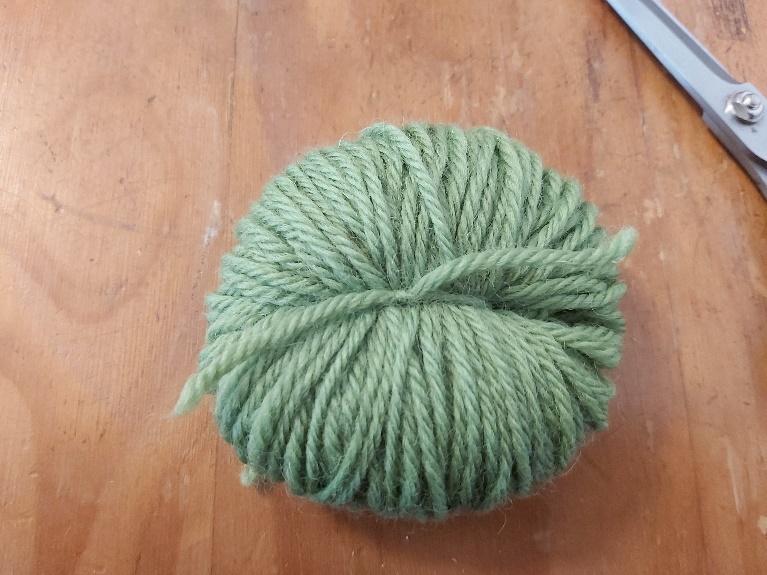
Cut through your loops at both sides, and then shape your pompom.
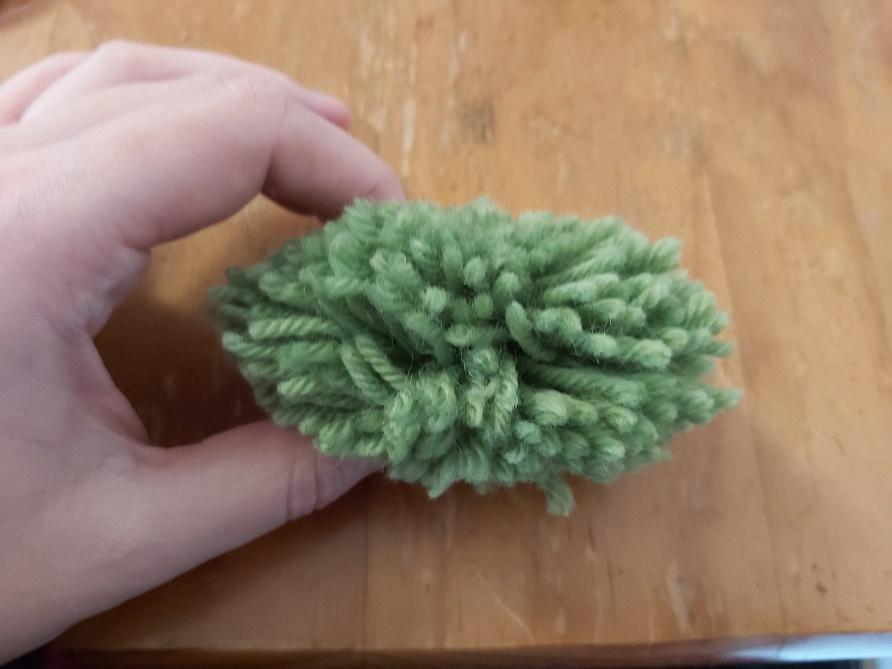
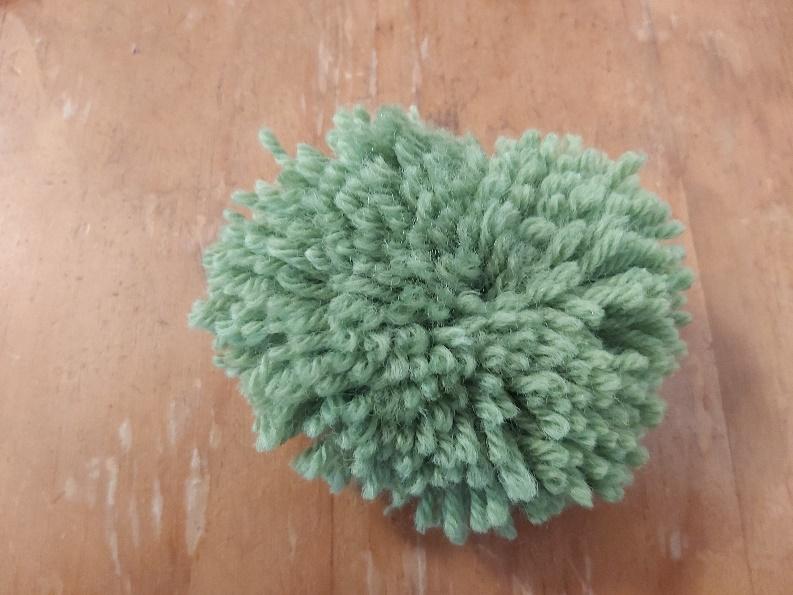
I found that this technique made a more unevenly shaped pompom fresh off the cardboard. It needed more trimming than other techniques to get a nice shape. However it also doesn’t require you to be able to draw two circles of the right diameter, so it is super easy to get started!
How to Customise Your Pompom
There are so many ways you can make your pompoms unique and suitable for whatever you want to do with them!
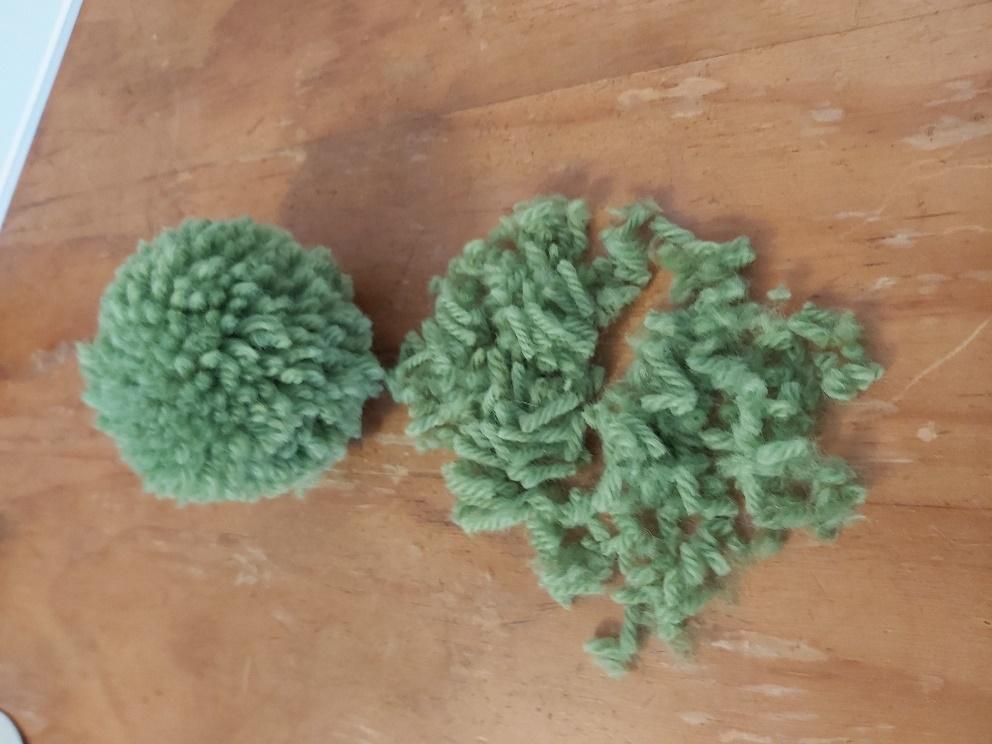
You can change the thickness of the yarn to get a different density. Here are two pompoms made with the same Clover maker, using the same colour yarn, but in 4 ply/fingering and 8 ply/DK. The 4 ply one takes longer to make, but because there are more cut ends in the same size pompom, it has a smoother and denser feeling. Can you tell which is which?

Generally speaking, the smaller the pompom, the smaller the maximum thickness yarn you can use, if you use anything too big you will run out of room and end up with a very sparse looking pom pom!
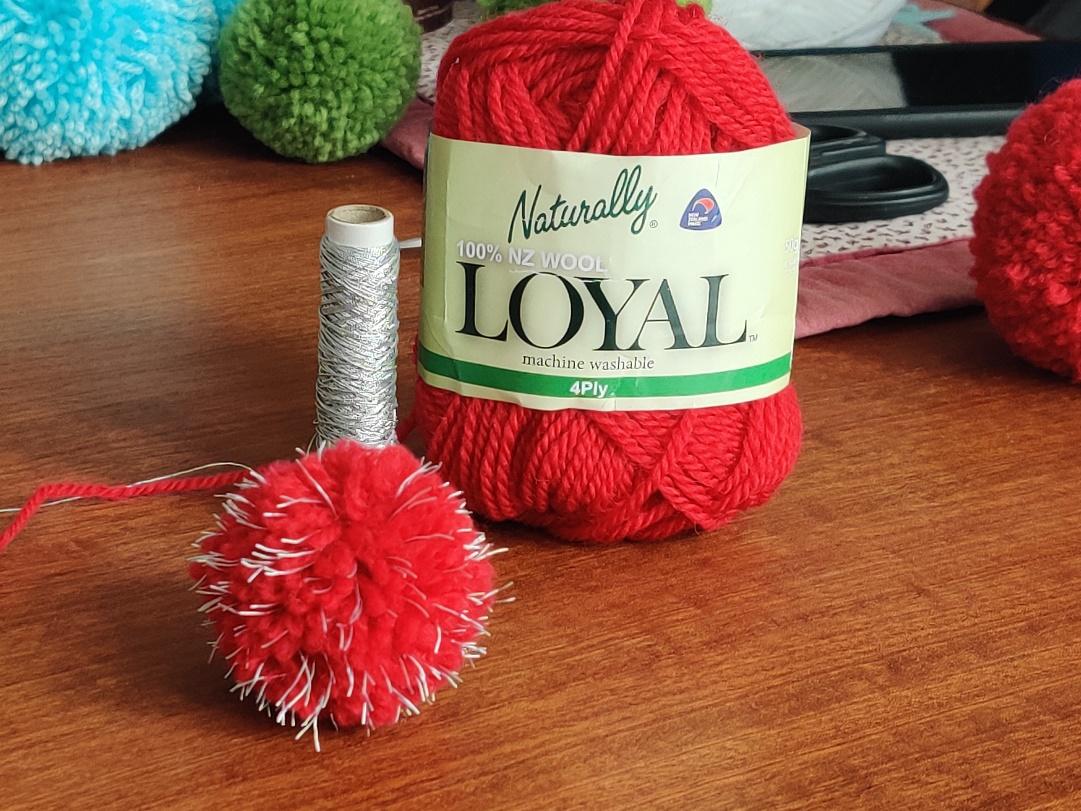
Add other fun fibres in with your yarn for contrast. For this one I held a metallic embroidery thread double with the red yarn for a sparkly festive effect.
You can hold two (or more!) different colours at the same time to get a multicoloured pompom.


You could try holding different textures together, or use roving or embroidery floss or art yarn to create uniquely textured pompoms.
Pompoms are extremely versatile, both in the ways you can make them and what you can use them for. Every one can be a fun and beautiful example of your creativity. Get even more pompom project inspiration at our pompom Pinterest board!
Do you have any neat pompom making tricks? Let us know in the comments!
sign-up for more!
…for information about new arrivals, inspiration and ideas, and tutorials – and the very occasional sale


